
Vinyl Fence Installation Tips Every Homeowner Should Know
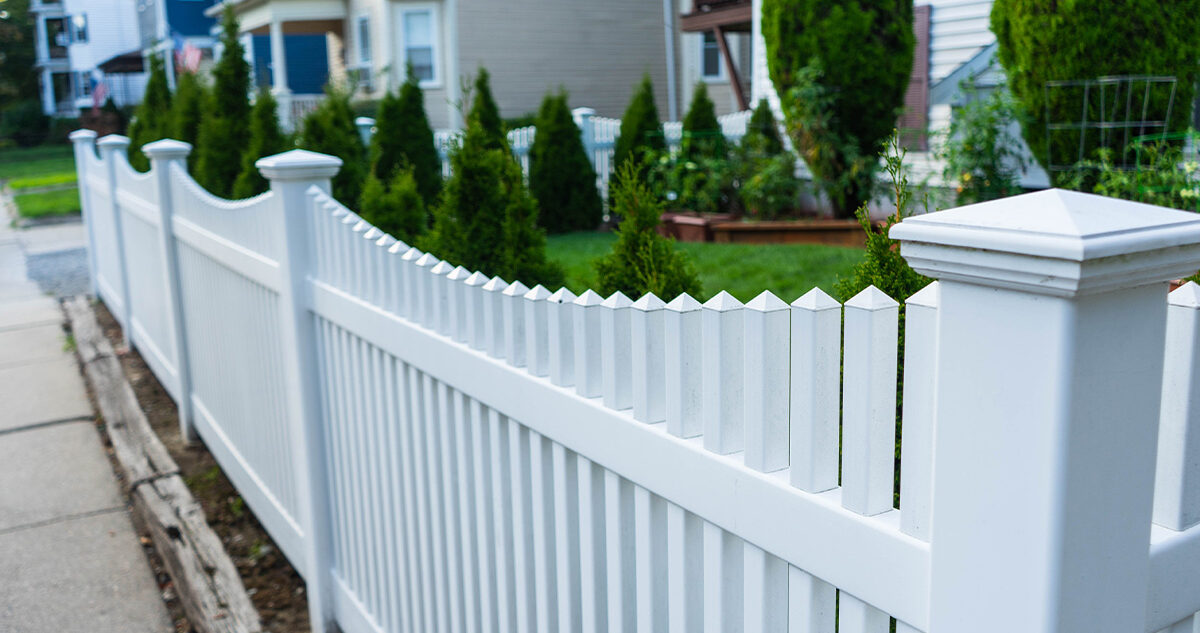
Installing a vinyl fence is one of the best ways to enhance your property’s curb appeal while adding privacy and security. Known for its durability, low maintenance, and attractive appearance, a vinyl fence can last for decades when installed correctly. However, improper installation can lead to costly repairs or an unstable fence that doesn’t stand the test of time. Whether you’re a DIY enthusiast or hiring a professional, understanding key installation tips will help you achieve a flawless result.
Below are essential vinyl fence installation tips every homeowner should keep in mind.
1. Understand Local Regulations and Property Lines
Before you start digging, check your local building codes and homeowners’ association (HOA) rules. Many areas have specific guidelines regarding fence height, color, and placement. It’s also crucial to identify your exact property boundaries to avoid disputes with neighbors. A professional surveyor can help you ensure your vinyl fence is installed within your property line.
2. Choose the Right Type of Vinyl Fence
Vinyl fences come in various styles, such as privacy, picket, semi-privacy, and ranch rail designs. Consider your needs—whether it’s security, privacy, or decorative purposes—before choosing a style. For example, a solid panel design is perfect for privacy, while a spaced picket style allows visibility and airflow. Selecting the right fence type will ensure you’re satisfied with both functionality and appearance.
3. Plan the Layout Carefully
A successful vinyl fence installation starts with a clear plan. Mark the location of each post using stakes and string lines to ensure straight and even alignment. Pay attention to corners, gates, and slopes in your yard. If your property has uneven terrain, you may need to step or contour the fence for a balanced look. A well-planned layout saves time and prevents costly mistakes during installation.
4. Prepare the Ground Properly
The foundation of any vinyl fence is its posts, so proper ground preparation is essential. Remove rocks, roots, and debris from the installation path. Use a post hole digger to create holes that are at least one-third the height of the post above ground, and make them wide enough for secure concrete footing. In areas with frost, dig deeper to prevent shifting during freeze-thaw cycles.
5. Set the Posts Securely
Post installation is the most critical step. Place each post in the hole, ensuring it’s level and plumb. Fill the hole with quick-setting concrete for stability, leaving a slight slope away from the post to direct water runoff. Allow the concrete to cure fully before attaching the panels. Secure, level posts ensure that your vinyl fence remains strong and straight for years.
6. Use Quality Materials and Tools
Not all vinyl fencing materials are created equal. Opt for high-quality, UV-resistant vinyl to prevent fading and cracking. Stainless steel fasteners are recommended because they resist rust. Using the right tools—such as a level, tape measure, and power drill—ensures accuracy and efficiency during installation.
7. Account for Expansion and Contraction
Vinyl expands and contracts with temperature changes. When attaching rails and panels, allow a small gap for movement to prevent warping or buckling. Many vinyl fence systems are designed with pre-routed posts that naturally accommodate this movement, but it’s still important to follow manufacturer guidelines.
8. Install Panels and Gates Correctly
Once posts are set and cured, attach the rails and panels according to the manufacturer’s instructions. For gates, use reinforced posts and heavy-duty hinges to prevent sagging over time. Double-check alignment and spacing before securing any permanent fasteners, as adjustments are harder to make afterward.
9. Perform Regular Maintenance
While a vinyl fence is low-maintenance compared to wood or metal, it still needs occasional care. Clean the fence with mild soap and water to remove dirt, mold, and mildew. Check hardware and gate hinges periodically to ensure everything remains tight and functional. Addressing small issues early can extend the life of your fence significantly.
10. Consider Professional Installation
If you’re unsure about your DIY skills, hiring a professional can save time and ensure a perfect result. Experienced installers have the tools, knowledge, and manpower to handle challenges like slopes, uneven terrain, and large-scale projects. Even if you’re confident in your abilities, a professional consultation before starting can be invaluable.
Final Thoughts
Installing a vinyl fence can be a rewarding project that enhances your home’s appearance, privacy, and value. By following these tips—understanding local regulations, planning carefully, setting posts securely, and using quality materials—you can ensure your fence is both beautiful and durable. Whether you take the DIY route or hire a professional, proper installation is the key to enjoying a long-lasting, maintenance-free fence for years to come, a factor that can also influence overall property value considerations such as the Thomson Reserve Price.


